Fiberglass Casting Staff Training Checklist
This Fiberglass Casting Staff Training Checklist standardizes quality, reduces errors, and improves patient safety. Sections follow real clinical flow: room/team setup, patient assessment, sizing and materials, execution (padding, activation, layup, edge finishing), quality checks, aftercare, and documentation. Trainers can adapt it to pediatrics, upper/lower limb, and hot/humid environments.
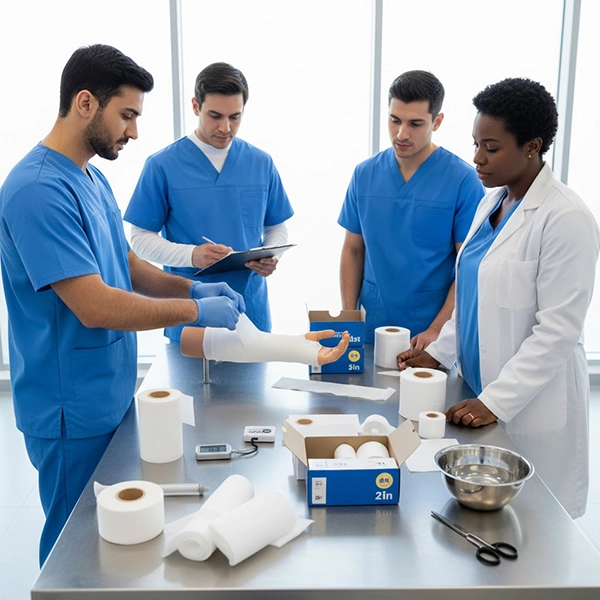
1) Room & Team Preparation
- [ ] Clean, ventilated room with adequate lighting; access to controlled lukewarm water (20–24°C).
- [ ] Check bench integrity, water bucket, timer, waste bins, and cool-air dryer.
- [ ] Full PPE: thin non-latex gloves, apron, eye protection as needed.
- [ ] Assign roles: primary caster, assistant for limb holding and timing, QC observer.
2) Safety & Hygiene
- [ ] Infection control; patient’s skin clean and dry, no creams/sprays.
- [ ] Educate: never insert objects under the cast; use cool air for itching.
- [ ] Have a skin reaction kit ready for rare sensitivities.

3) Tools & Materials
- [ ] Fiberglass casting tapes (5, 7.5, 10 cm) in low-MVTR foil pouches with clear LOT/EXP.
- [ ] Even undercast padding and moleskin for soft edge finishing.
- [ ] Adjunct splints if required; cast saw/scissors for removal.
- [ ] Sling for upper limbs and a proper waterproof cover for patient education.
4) Patient Assessment & Planning
- [ ] Pre-cast CSM (circulation, sensation, motion) check and documentation.
- [ ] Define immobilization length: include joint above and below for fractures when indicated.
- [ ] Choose width by limb size (pedi: 5–7.5 cm).
- [ ] In hot/humid climates: plan shorter rolls and faster team coordination.
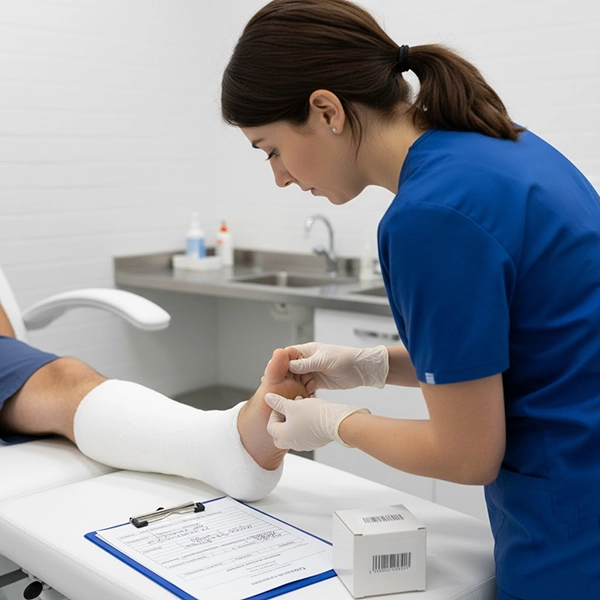
5) Execution: Padding, Activation, Layup
- [ ] Padding: uniform, wrinkle-free; reinforce bony prominences.
- [ ] Activation: single quick dip in lukewarm water; gently express excess water.
- [ ] Layup: 30–50% overlap with even tension; avoid ridges/valleys.
- [ ] Molding: prioritize edges and risk areas early; control gel window with a timer.
6) Edge Finishing, Final Shape & Ergonomics
- [ ] Moleskin for soft edges; eliminate sharp contact points.
- [ ] Maintain functional angles (e.g., elbow ~90°, wrist neutral where indicated).
- [ ] Team ergonomics: steady limb support without point pressure; clear verbal cues.
7) Post-Cast Quality & Safety Checks
- [ ] Post-cast CSM: color, warmth, sensation, and movement of digits.
- [ ] Inspect for odor, soft spots, pressure ridges, or looseness; correct immediately.
- [ ] Patient education: moisture management, cool-air drying, avoid direct heat/impact.
8) Home Care & Follow-up
- [ ] Quick handout: daily care, red flags (increasing pain, numbness, discoloration), when to call.
- [ ] Schedule check-ups and imaging; record in the system.
- [ ] Use a waterproof cover for brief showers; if wet, blot + cool-air dry.
9) Documentation & Continuous Improvement
- [ ] Record LOT/EXP, number of layers, tape width, and clinical notes.
- [ ] Track adverse events and patient feedback to refine training/protocols.
- [ ] Periodic skill refreshers; simulate pediatrics and hot/humid scenarios.
Conclusion & CTA
Following this checklist step by step improves immobilization quality, skin safety, and patient satisfaction. To equip your workshop with fiberglass casting tapes in multiple widths and colors, visit our product page.